Creation of a new continent
This tutorial is one in making, always written/tested/finalized/formatted… The whole tutorial(as of now) is based in an translation of: http://dev.ryzom.com/projects/ryzom/wiki/CreatingNewLand
Some links that may be useful:
- http://dev.ryzom.com/boards/17/topics/5661?r=5662#message-5662 (Access zones indoors).
Prerequisites is Windows(indicated only with “Windows references”, because the complete process is only possible under this OS at this time). We assume that you already:
- have downloaded and installed the http://dl.kaetemi.be/ryzom/assets/ryzom_assets_rev4.7z] Ryzom graphics in drive
W:\database(assest's directorys). - have downloaded and installed the Ryzom Core source code, in drive
R:. - have mounted the directory:
R:\code\ryzom\common\data_leveldesignto driveL:. - have downloaded the graphic assets of Newbieland and added them to those of the Ryzom assets(database).
- have copied the contents of the leveldesign tools package to:
R:\code\ryzom\tools\leveldesign\install - have copied(from khanat-ressources) all the directories to:
R:\code\ryzom\common\data_leveldesign - have applied the Python scripts from
R:\code\nel\tools\build_gamedataON Ryzom's graphical assets(database).
Creating a landscape using the World Editor
Setting things up
- Now.. let's name our new territory, let's call it(as guide example): “dispensaire01”.
- Create a subdirectory in:
R:\code\ryzom\tools\leveldesign\install\continentswith this given name. - Copy all the contents of the directory:
L:\continents\newbielandinto this new directory, EXCEPT the directory “pacs” and the file “newbieland.land”!! - Open:
L:\leveldesign\world_editor_files\world_editor_classes.xmlwith your choosen text editor and find the section that starts with:
<!-- **************************** LOCATIONS **************************** -->
Now find this line and add after it:
<PARAMETER NAME="id" TYPE="const_string" VISIBLE="true">
THE FOLLOWING LINES:
<COMBO_VALUES CONTEXT_NAME="default">
<CONTEXT_VALUE VALUE="dispensaire01"/>
</COMBO_VALUES>
Save the file and close it.
The links in this file are absolute, and also coded according to a Windows hierarchy(for ex: letter L: as in a Windows partition).
This should be followed because of compatibility with the relative data hierarchy, which “should” work in any system.
Now launch the World Editor in: R:\code\ryzom\tools\leveldesign\install.
When the program is loaded, do the following:
- Left click Project > New landscape
- Left click File > Save
- Enter your continent file name(“dispensaire01”) and press <Enter>.(This save's the file in folder:
R:\code\ryzom\tools\leveldesign\install\world_editor_continents) in the form of “.worldedit”. - In next window, save the land file name as (“dispensaire01”) and press <Enter>.(This save's the file in folder:
R:\code\ryzom\tools\leveldesign\install\continents\) in the form of “.land”. - Left click on Project > Settings, and:
- indicate the directory specified earlier, namely:
R:\code\ryzom\tools\leveldesign\install\continents\dispensaire01 - Indicate the “context” TO “default”.
- Click <OK> to confirm, wait until World Editor loads all the found data.
- IMPORTANT: Back up the project!! ←- TO DO: What files exactly??
Painting
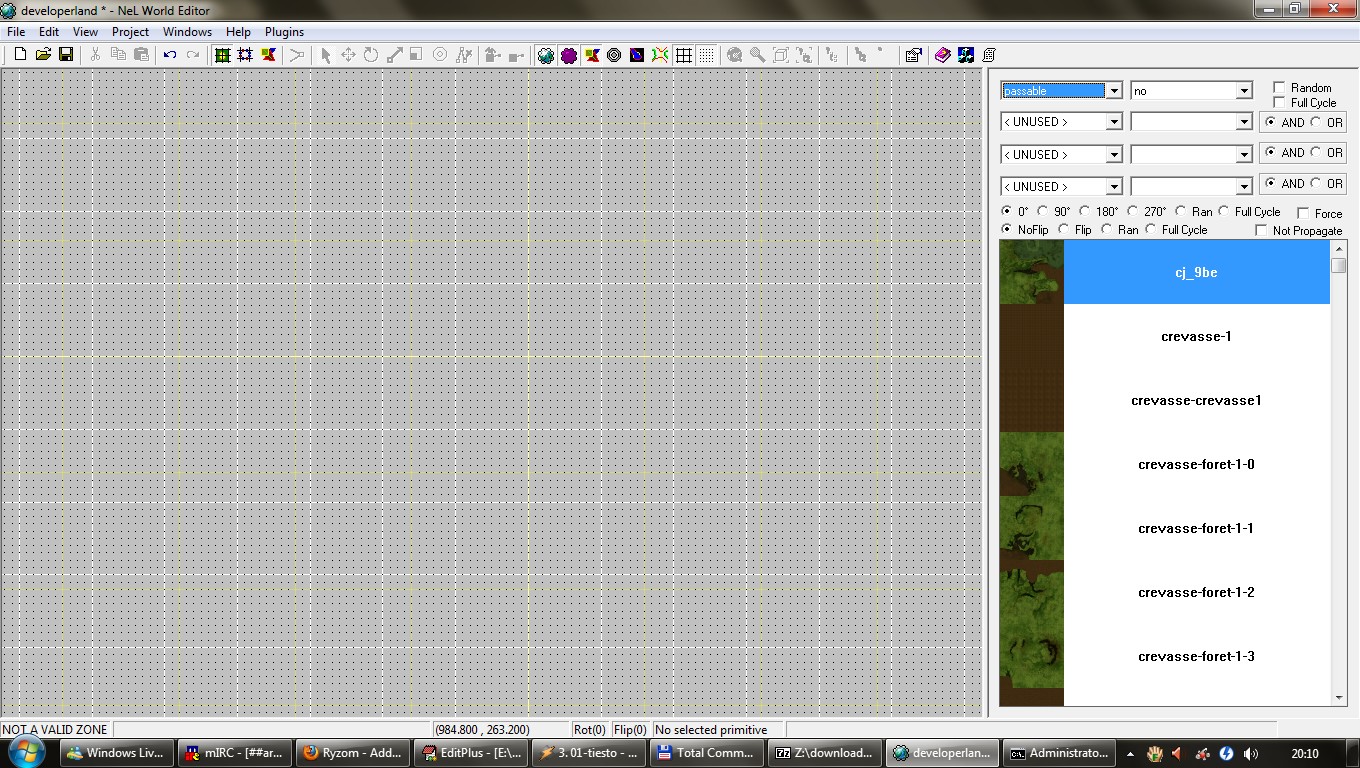
- Left click View > Zone
- Left click Edit> Goto Position. Select “O, O” and click <GoTo>, this will bring you to the center of your screen. At the value “0.0 1_AA”, position a brick(named “crevasse_1”) to mark the spot.
- Position this brick at the top left corner by pressing the “middle mouse button”, by doing this only valid areas are shown.
- Paint your territory with your chosen “LIGO bricks”.
- Save the project.
It is “NOT” a must to place the card at the top left(which will therefore be counted as to the northwest). Valid areas for land placement range from “1_AA TO 255_JV”. BUT.. positioning them correctly from the start will make it possible to have the right distances between them later on, or even to be able to connect them in the future.
This also means that all the cards must fit in a square of “256x160m” aside, or about 41km.
Finalize
- Copy the .land file from:
R:\code\ryzom\tools\leveldesign\install\continents\dispensaire01.. TO ..W:\ Database\Landscape\ligo\jungle\ - Left click File > Export snapshot, then <OK>.
- Save the .tga file as “dispensaire01”.
This will be the ingame map, we will work with this a bit later!
Create datasets with Georges Editor
Setting up
- Go to:
L:\leveldesign\World - Create a new subdirectory with the same name as your new territory(this should be “dispensaire01” following the guide).
- Copy the .continent file from:
L:\leveldesign\World\newbielandto this new subdirectory. - Rename “newbieland.continent” to “<your_territory>.continent” where “<your_territory>” is the name of your continent(“dispensaire01” in this guide example).
- Open continent.cfg with a chosen text editor.
- Change(in this file) the “LandFile setting”, making it point TO “dispensaire01.land”(the one you copied previously:
W:\Database\Landscape\ligo\jungle\)
Again, all this done in mind of the Windows partition hierarchy!
Editing World DataSheets
- Open:
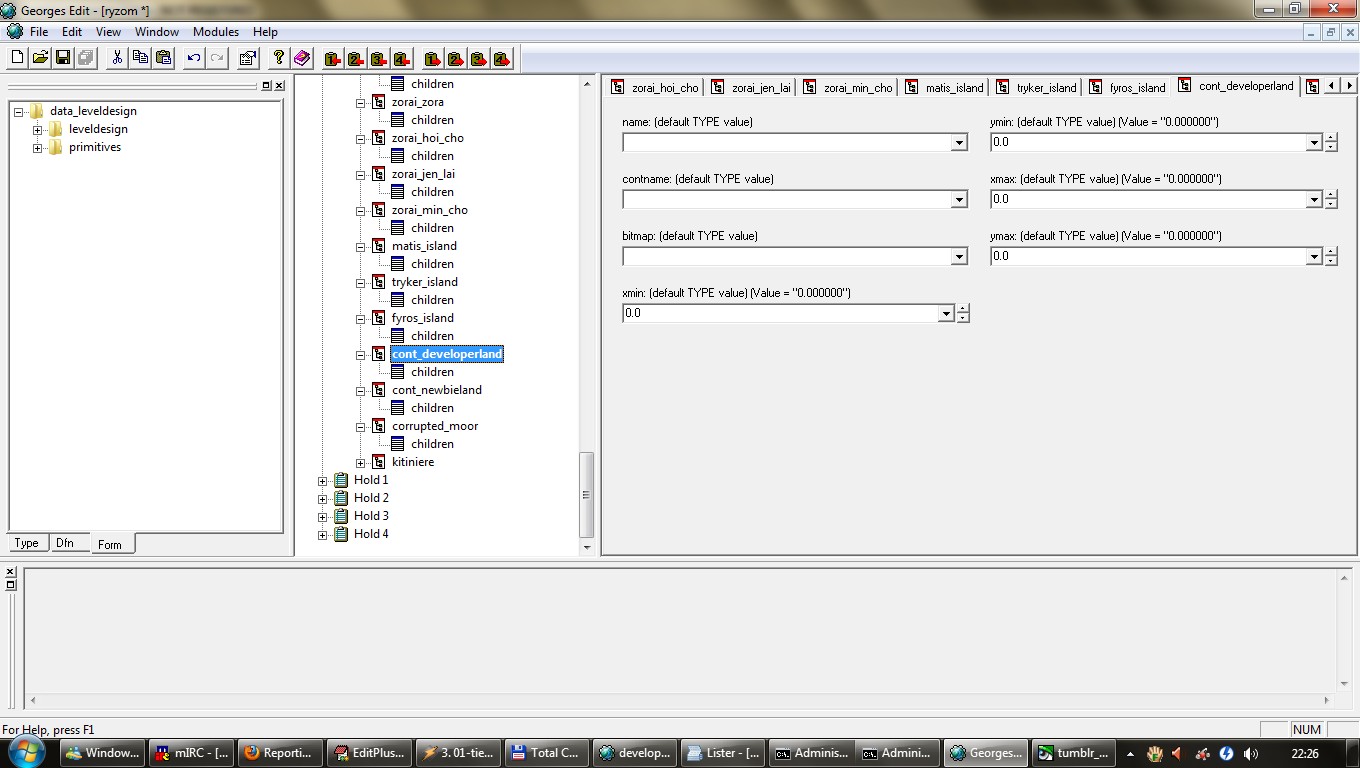
L:\leveldesign\World\Ryzom.worldwith Georges editor. -
- Go back to the World Editor window.
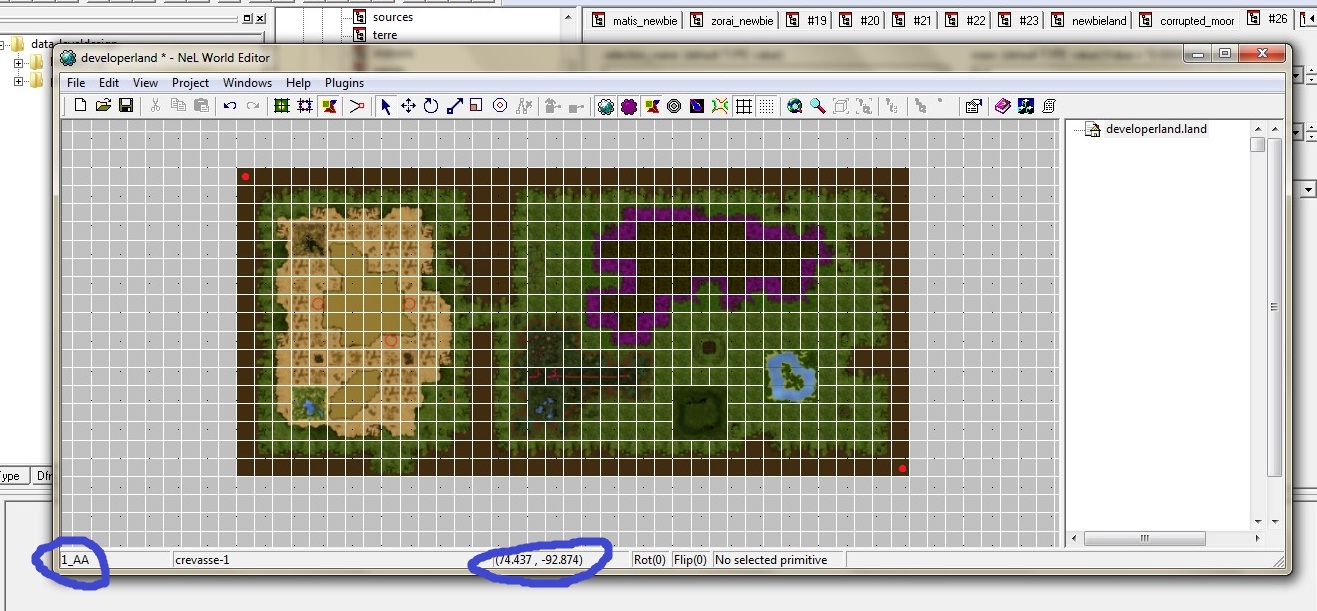
- Move your mouse pointer first to the upper left and then to the lower right corner of your land(red dots on the picture).
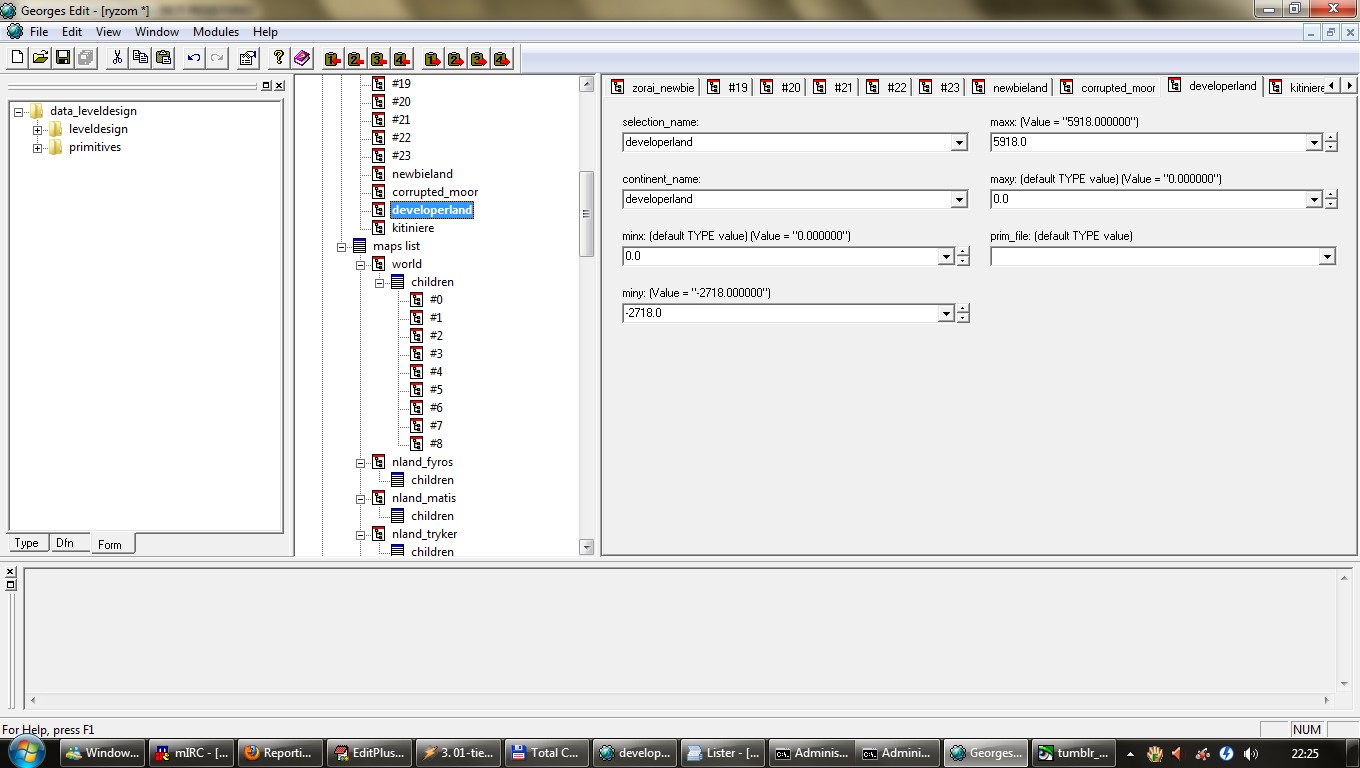
- Return to Georges editor with your land's “sheet” open.
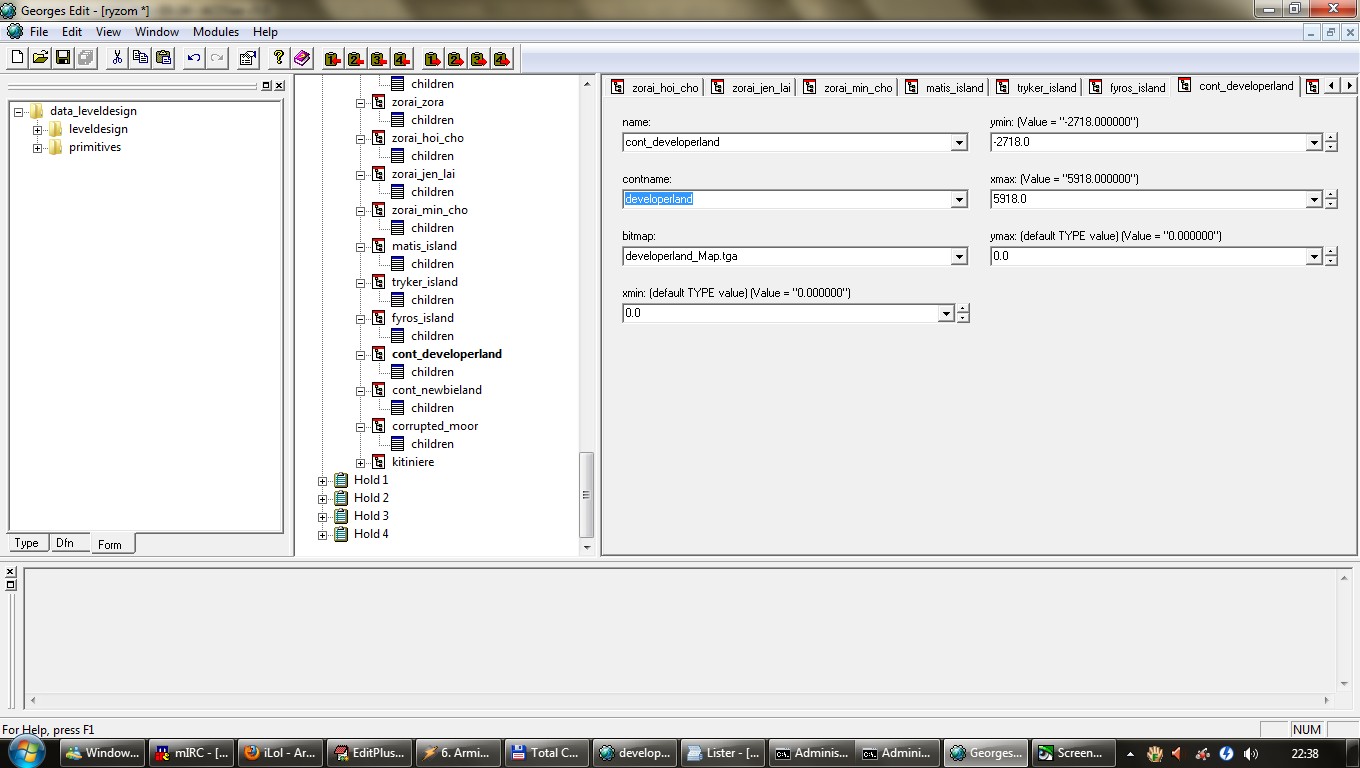
- Fill minx, maxx, miny and maxy using the data noted above.
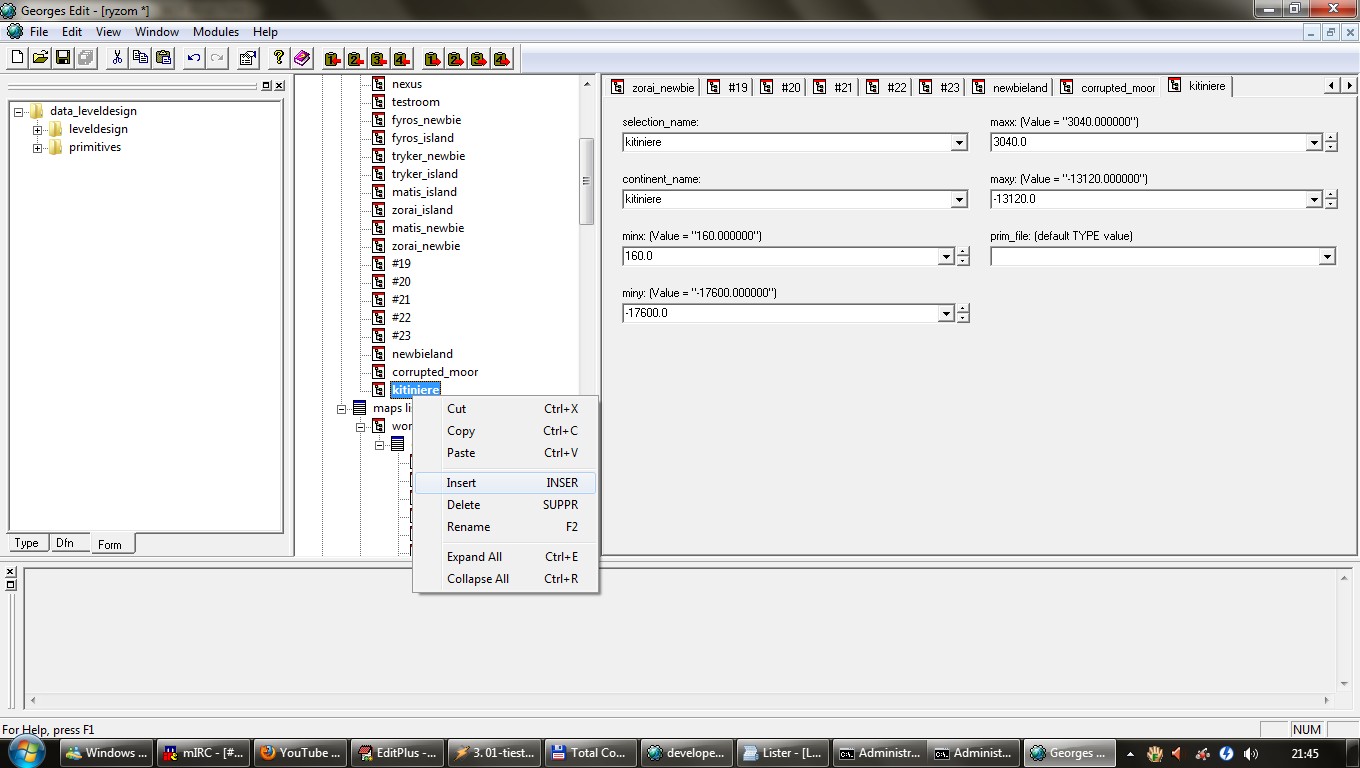
- Once again, right click on the last entry in the “maps list” and choose “insert”.
- Fill in the same minx, maxx, miny and maxy using the same data noted above.
- Enter the DataSheet name in the field “name(cont_dispensaire01)”, and the name of your territory in “contname(“dispensaire01”)”.
- Save it all with Georges Editor.
Editing Territory DataSheets
- Go to the directory:
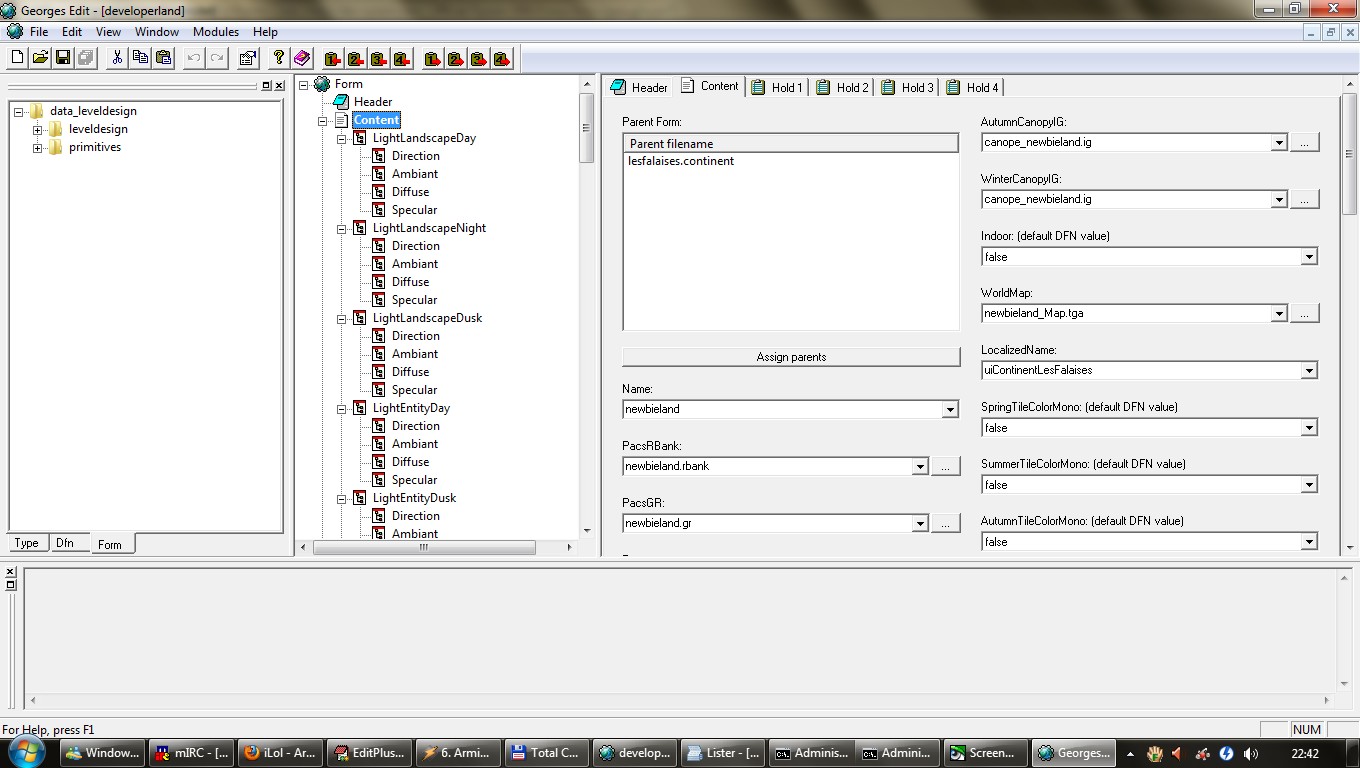
L:\leveldesign\World\<your_territory>(“dispensaire01”) - Change the tables: “Name”, “PacsRBank”, “PacsGR”, “LandscapeIG”, “WorldMap” to that of your own territory(“dispensaire01 in this guide”).
- Change the table values of ZoneMin AND ZoneMax to report the data previously noted(ZoneMin = 1_AA and ZoneMax = 17_BK in our case).
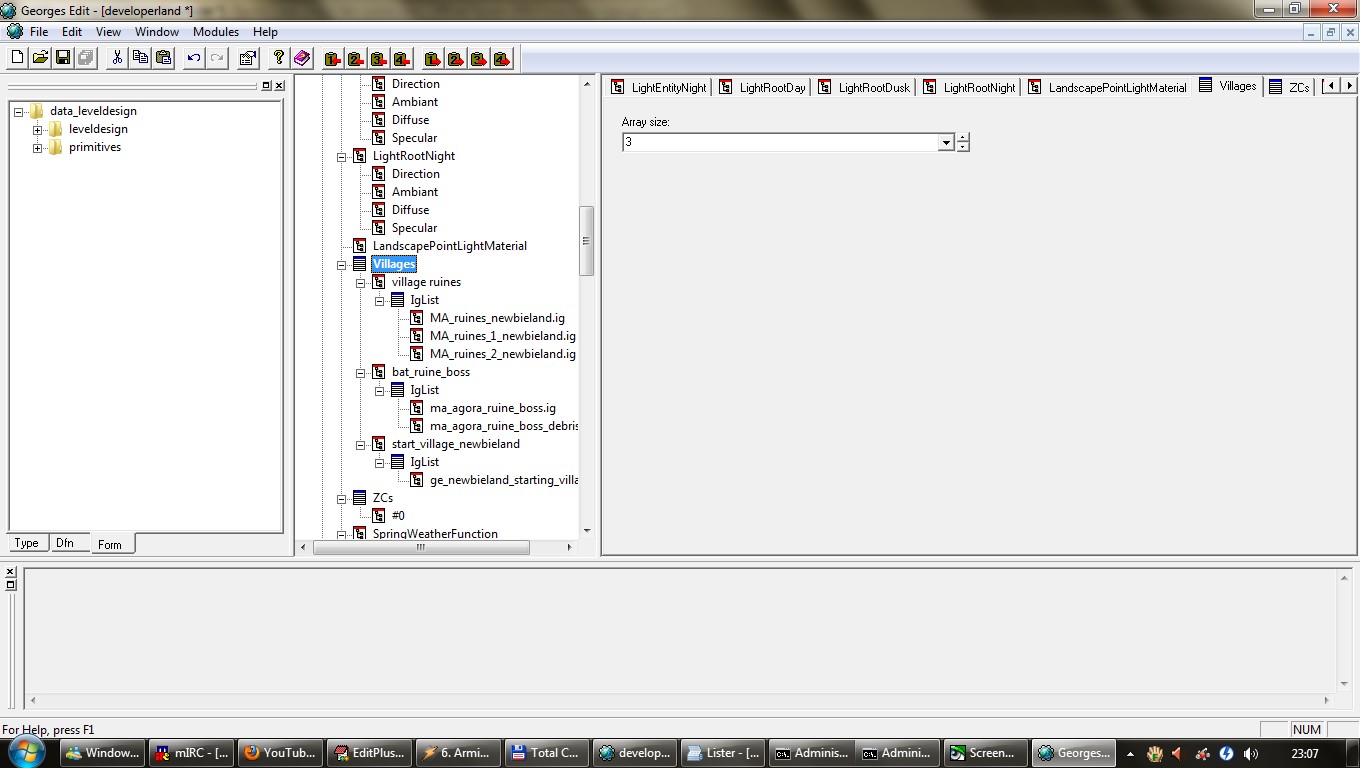
- In “start_village_newbieland”, delete the content of the “igList” section(we're only making a simplistic landscape, in other words.. no buildings etc). The guide will perhaps be updated with information about the “ig formats” in the future.
- Now search through the section “ZCs” and delete all “ZCs” you find.
- Find the “Landmarks” section and even here delete all.
- Save everything
Create primitives of the region
Setting up
- Go to:
L:\primitivesand create a subdirectory with the name of your territory( “dispensaire01”). - Open the World Editor.
- Left click Project > New primitive.
- Save the project in the directory:
L:\primitives\<territory_name>(“dispensaire01”) in the name and form of “region_<territory_name>”(in other words: “region_dispensaire01”). - Go to:
L:\primitivesand open file file_index.cfg with your chosen text editor. - Add the name of the “primitive file” at the end of this list, following the formatting conventions. Remember that the specified number must be a unique one. In our case you add: “region_dispensaire01.primitive”, “768”,
- Now open the
primitives.cfgfile, then again add the primitives file(still following the formatting conventions). This will in our case(added after the final “MAPEND”,) be like this:
    /////////////////////////
    //    DISPENSARY 01    //
    /////////////////////////
    "CONTINENT dispensaire01",
    "MAP dispensaire01",
        "MAP dispensaire01_all",
            "FILE region_dispensaire01.primitive",
        "MAPEND",
    "MAPEND",
Creating the region and it's starting point...
- Go back to World Editor.
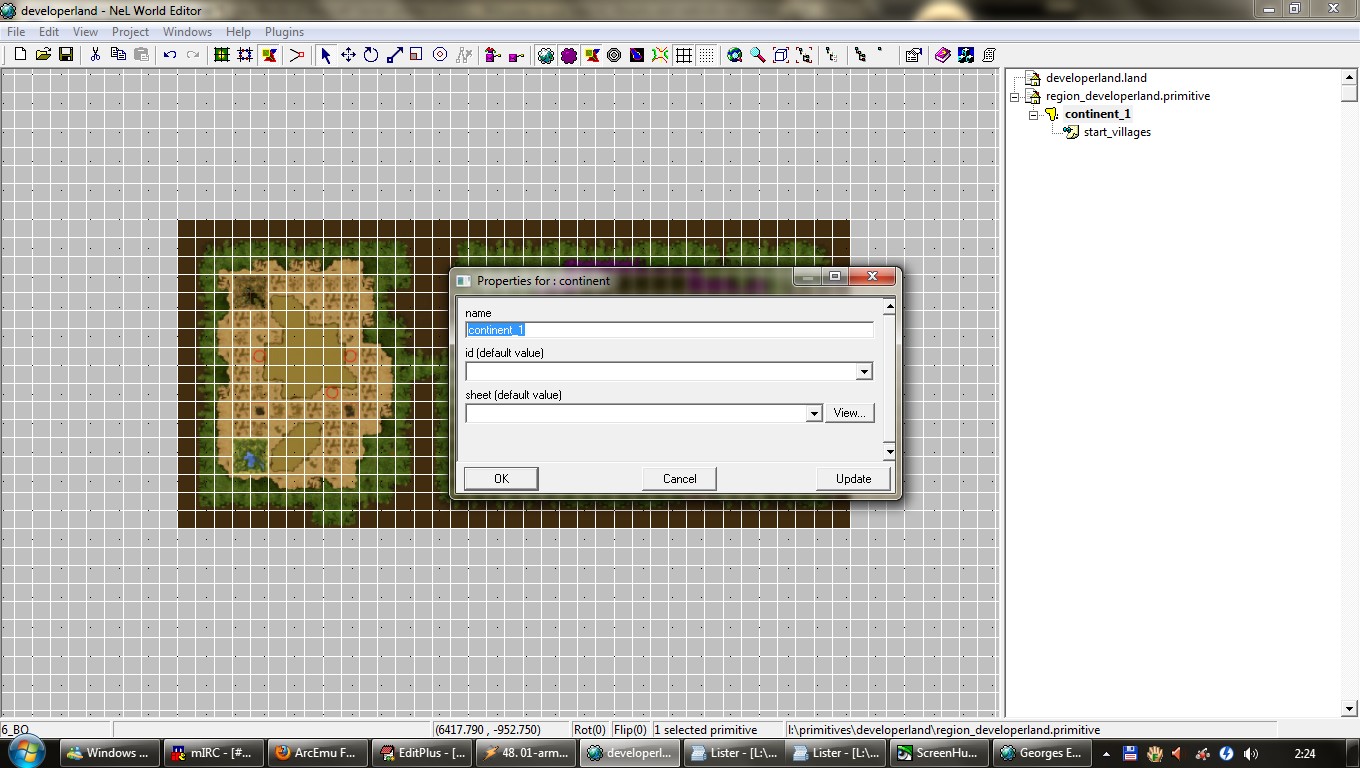
- Right click on the primitive and choose “Add continent”.
Then validate!
- Right click again on the new continent which now has the territory name, choose “Add place”.
- Right click on place, rename it to “starting_place”.
- Right click on starting_place, choose “Add teleport_spawn_zone”.
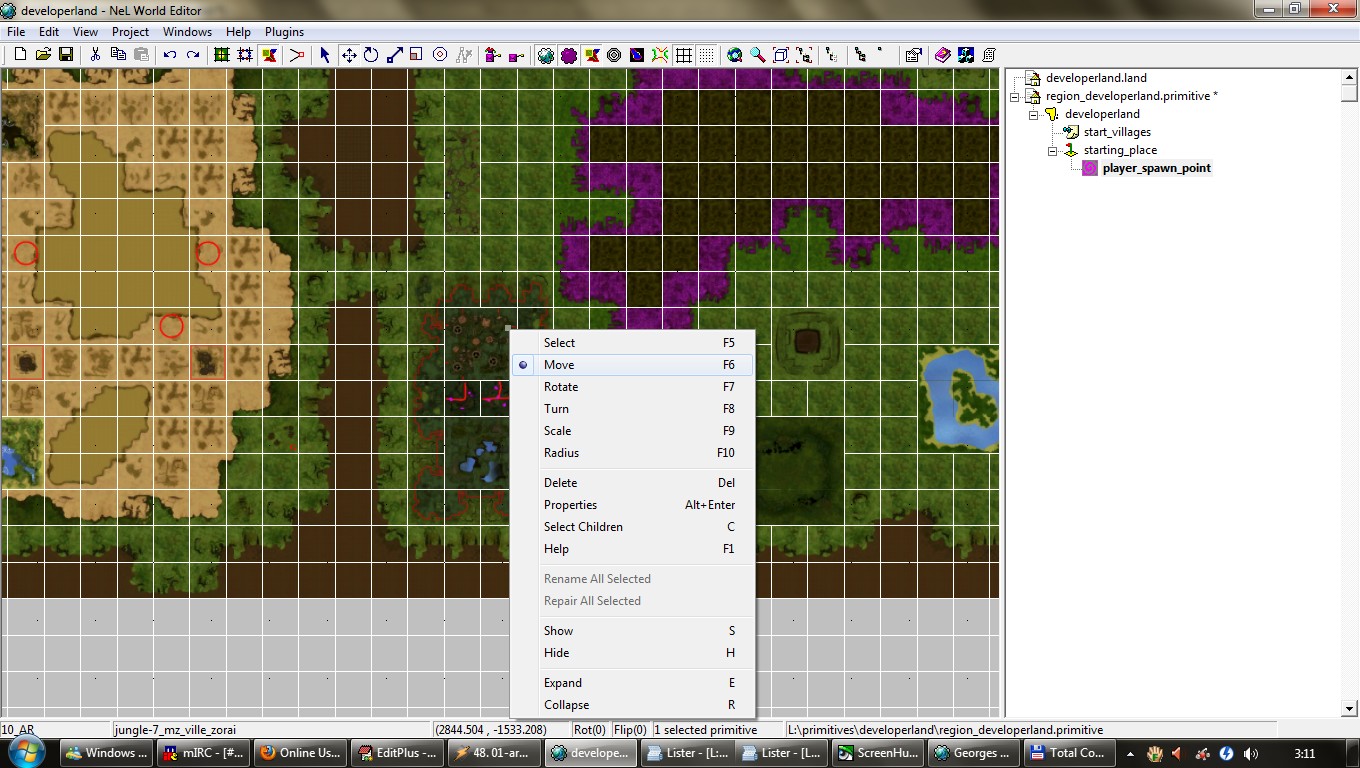
- Right click on the teleportation arrival area, select “properties” and change it's name to “player_spawn_point”.
- Click again on the “zone arrival of teleportation”, a gray rectangle will illuminate in zone 10_AQ, right click on it and select “move”.
- Click on the place “starting_place”, press <space> to enter the editing mode, then press F11 to enter the right mode, enabling us to add points.
- When finished, click on F5 to return to the selection mode.
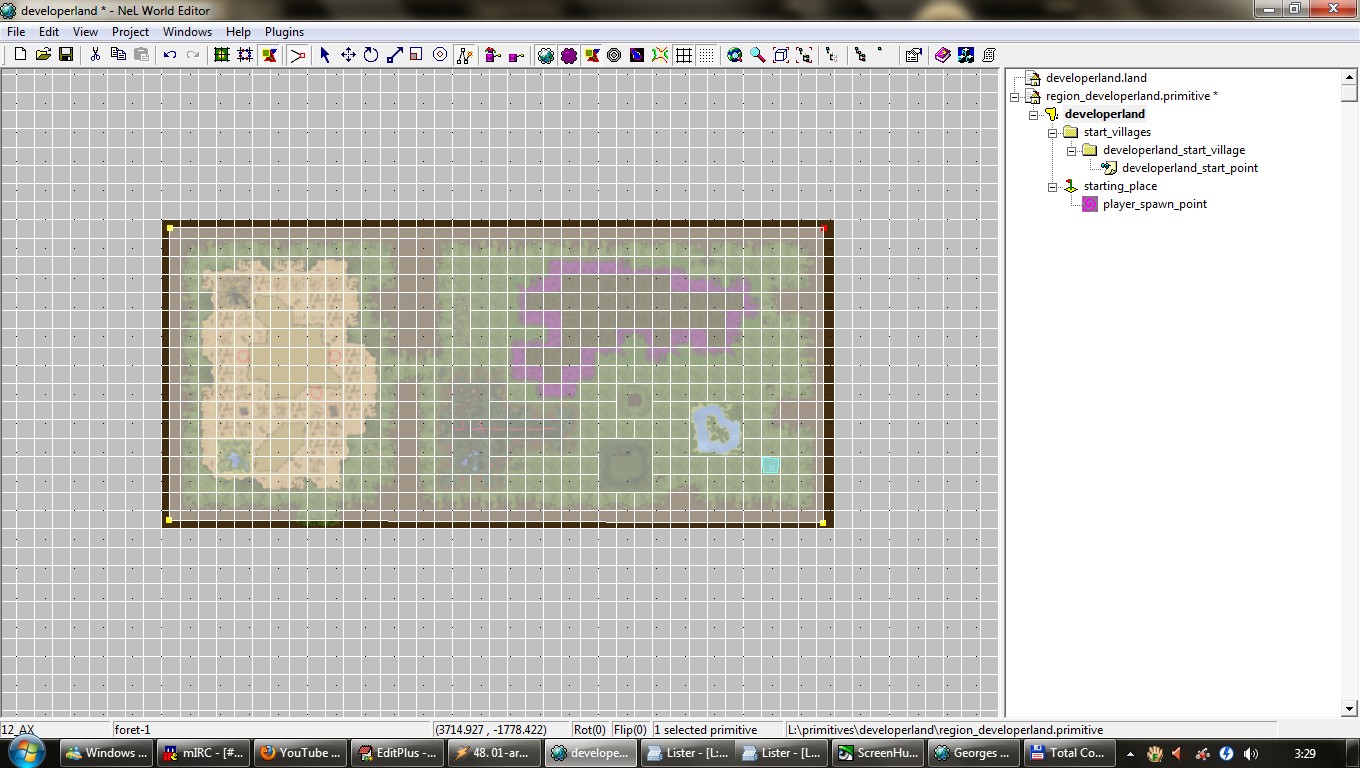
- Now, right click on “start_villages”, select “Add start_village”, right click on it and rename it to your taste(“in this case: dispensaire01_start_village”).
- Right click on the village, choose “Add start_point”.
- Right click, select “properties” and rename it to your choice(in this case: “dispensaire01_start_point”).
- Fill in the “spawn zone” field with the name of the teleportation arrival area created earlier(“player_spawn_point”).
- Save!!
Add primitive information to DataSheets
- Return to the DataSheet under Georges editor: ''L:\leveldesign\World\dispensaire01\dispensaire01.continent“) .
- Select the only village that is left under the village section(“start_village_newbieland” in our example).
- Rename it accordingly to the “starting village name” we added earlier in the World Editor(in our case: “dispensaire01_start_village”).
- Edit the field “zone” to correspond to the zone where this village is placed(where starting_place and player_spawn_point were placed, in our case it is “14_BH”).
- Now save!!
Fix the AIS server
Lastly, you must edit the ai_service_default.cfg file and make it look like the following lines:
 StartCommandsWhenMirrorReadyNewbieland =
{
//"loadContinent newbieland",
//"createStaticAIInstance newbieland",
//"loadMapsFromCommon newbieland_all",
};
End of guide!




![Haut de page [T]](/wikhan/lib/tpl/khum1//images/top.png)


