Table of Contents
Texture with a specular effect
In Ryzom Core, it is possible to create brightness effects, which give an iridescent/metallic aspect to objects and creatures. It is called the specular effect.
For this, it is needed to create an adapted texture, which will include an alpha layer, with the quantity of brightness/specular effect to apply to each zone in grey levels.
The assets that have been freed by Winch Gate provide quite a lot of examples. It is quite unusual for areas to get more than 20% of effect. In this field, the best is to try depending on your wishes and your visual preferences for your universe project.
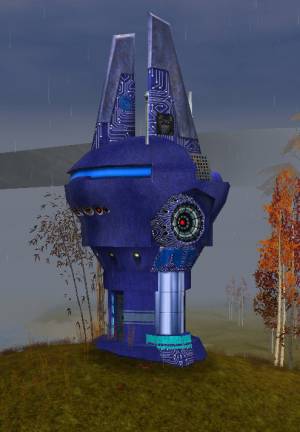
Let's see how to apply specular effects to the minaret texture.
The base texture (the one showing the colors) for the minaret.dds file:
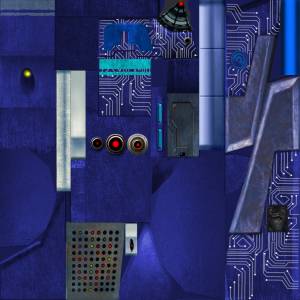 and its alpha layer, in grey leveles here to make it understandable.
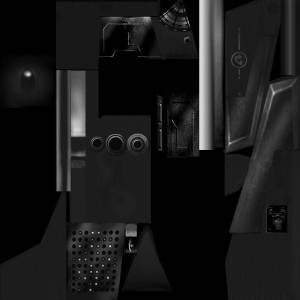 The clearer an area, the brighter it will look.
Creating a simple material
First, follow the steps explained in the creation of an object that can be held for the base texture.
The following material can be obtained as a result, for example, in 3DSMax.
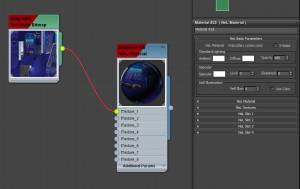
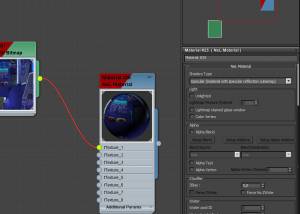
Changint the material type
In the “Shaders Type” part of the NeL Material, just change the type to “Specular (material with specular reflection cubemap)”
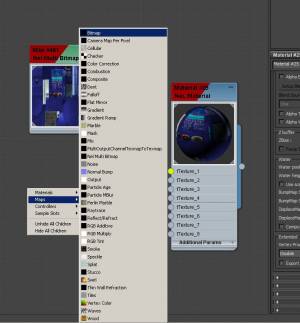
Adding a pattern in the specularity
Right-click then near the material in the view_1 and select “Bitmap”, and enter the pattern that will be used for the calculation of the effects.
 Following what Nevrax has created for Ryzom, those are usually very small files with colored or monochromatic halos. ratmidju_env.png, here below, is only 32×32 pixels
Linking the specularity bitmap
Then tell the material to use this Bitmap as a second source, it can be done by linking the two cornerstones as below, by left-clicking and sliding
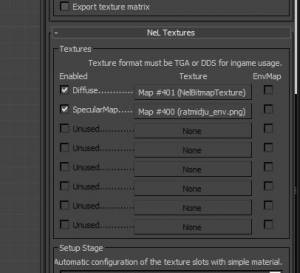
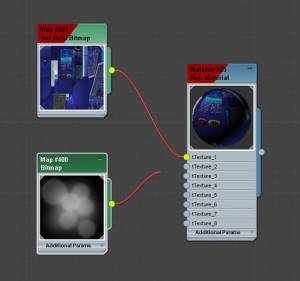 or by mentionning this Bitmap as SpecularMap in the “Nel Textures” area.
