Table des matières
Creating an object that can be held in game
Modeling and texturing the model
The aim is to get a .obj model, made of triangles, with a diffuse texture that will be applied by UVMap.
Creating a texture with specular requires to create a black & white file for the texture that will be used as an application layer, and another file for the specular effect that will be multiplied by this layer to get the brightness effect. Explanations about this way to add a specular effect are provided here. It is also possible to manage the application of a texture or another among choices for a same object/creature using Datasheets, if a specific propriety of the Nel materials is used: multi-texturing.
In Blender
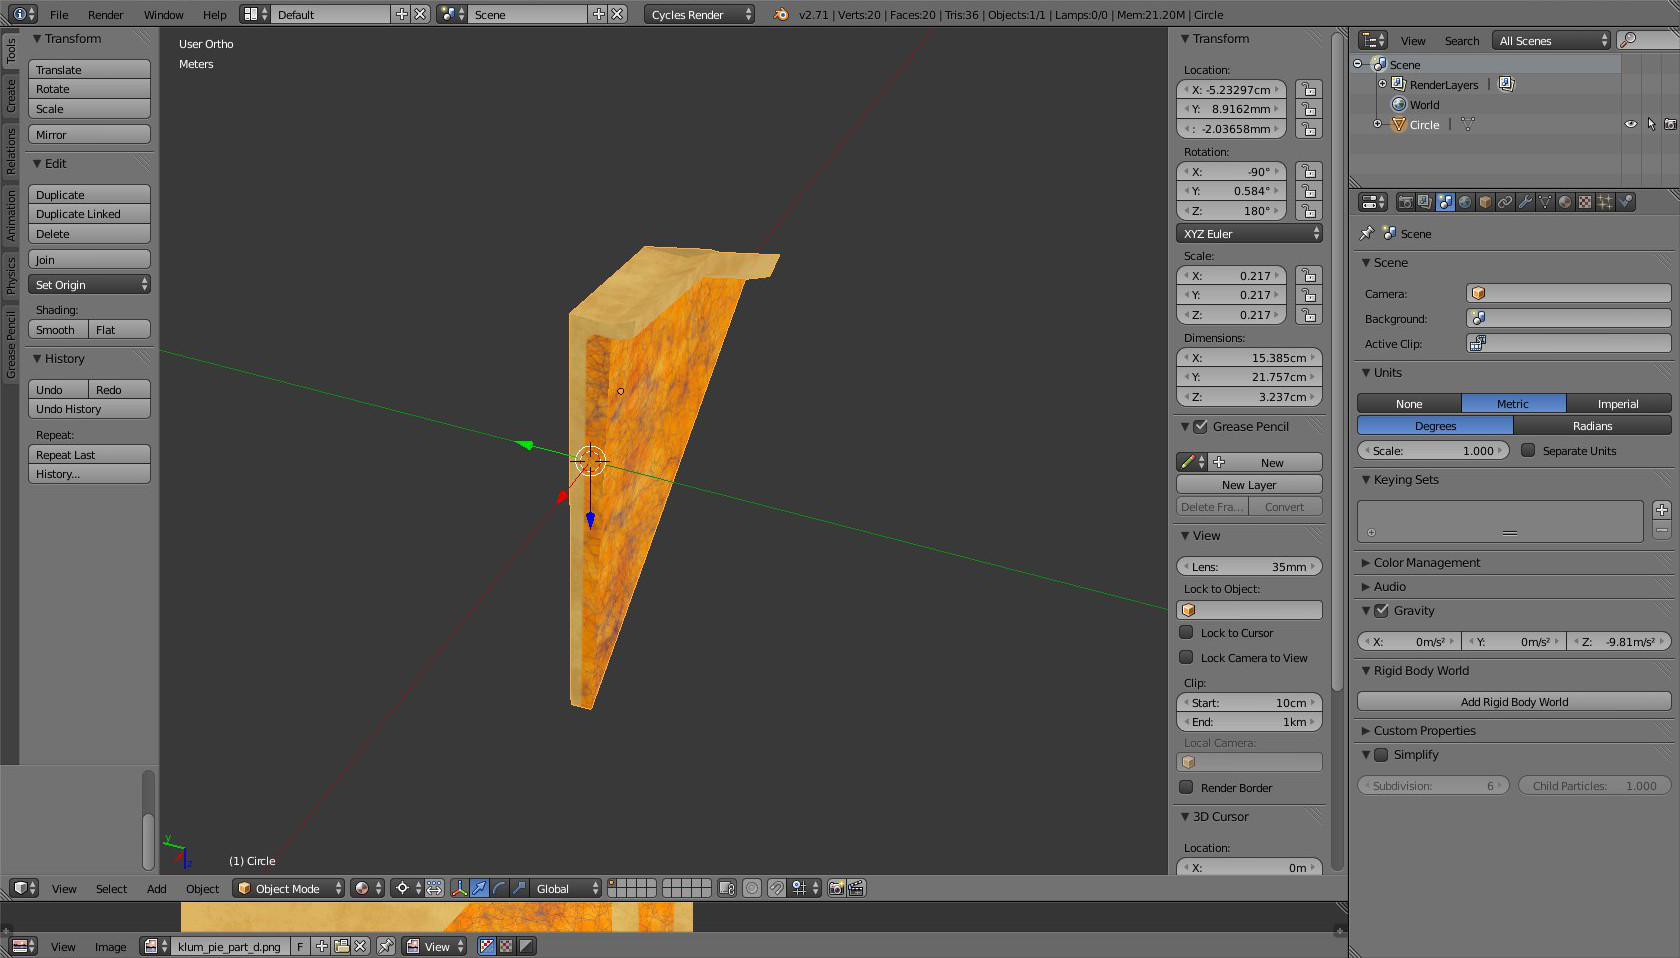
Creating the model and applying a simple diffuse and UVmapped texture.
Caution: Remember to use metric units in Blender, so that you get the proper size for you final object. It seems to match with the result in Nel if nothing is changed during the various exports.
Caution: X, Y and Z axes are used only with reference to the hand holding the object. Take care of having them correctly placed so that the object will be held properly. It seems that these axes’ orientation can be changed with the Datasheet of the object but, a priori, with a simple object, of dagger type (provided with Ryzom Core), here is what we get:
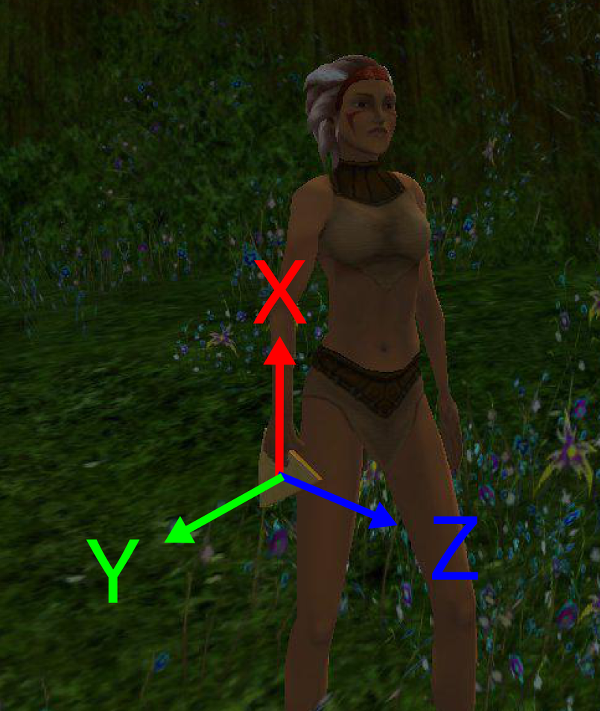
- X axe goes up along the forarm;
- Y axe leaves from the back of the end towards outside;
- Z axe points out towards the top of the object when firmly held.
Seemingly, if the object is held in the left hand with this same Datasheet, the object spins and points toward the back, like the tip of the dagger. See how the axes are managed in the datasheets
Caution: Your model’s fastening point to the character is based on a point defined in the Datasheet of the animation (a priori, in the middle of the closed hand).So you have to place your objet in Blender by imagining that this fastening point is the origine of your Blender space (0,0,0)
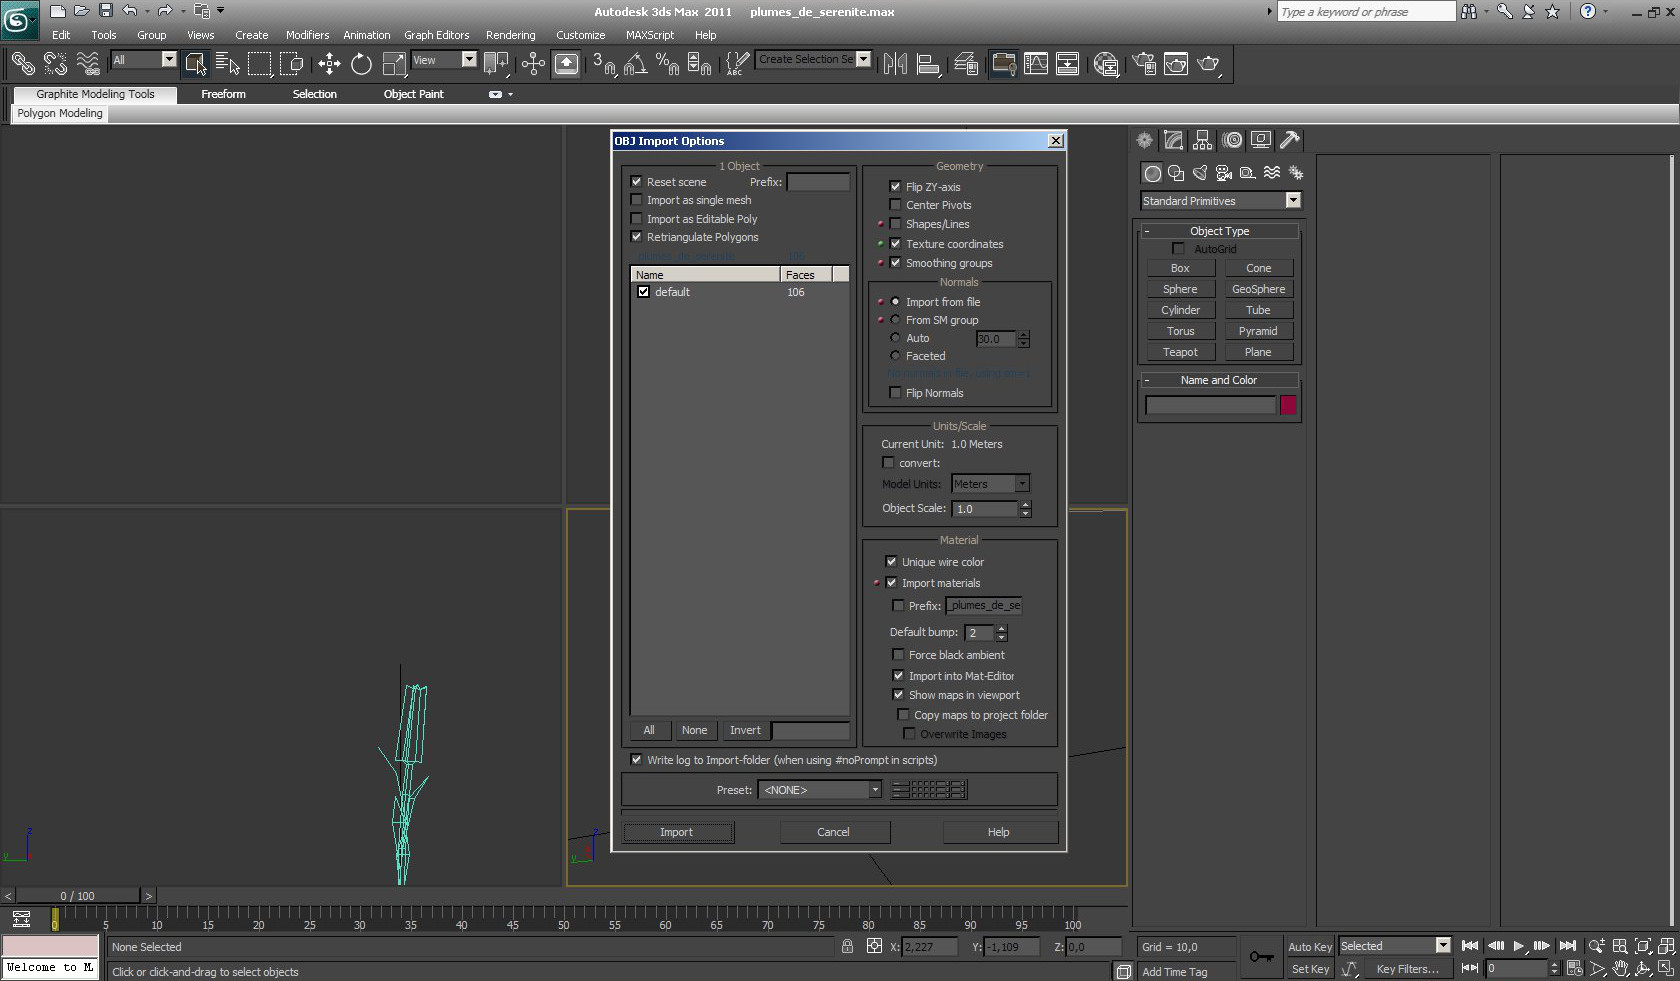
- Exportating in .obj, ticking the “triangulation” if the model hasn’t it.
Importins in 3DSMax and transferring towards NeL
Import the .obj file in 3DSMax in a new file
Applying the NeL material
- Open the Material Editor
- Right clic in View 1 and select “Add NeL Material”
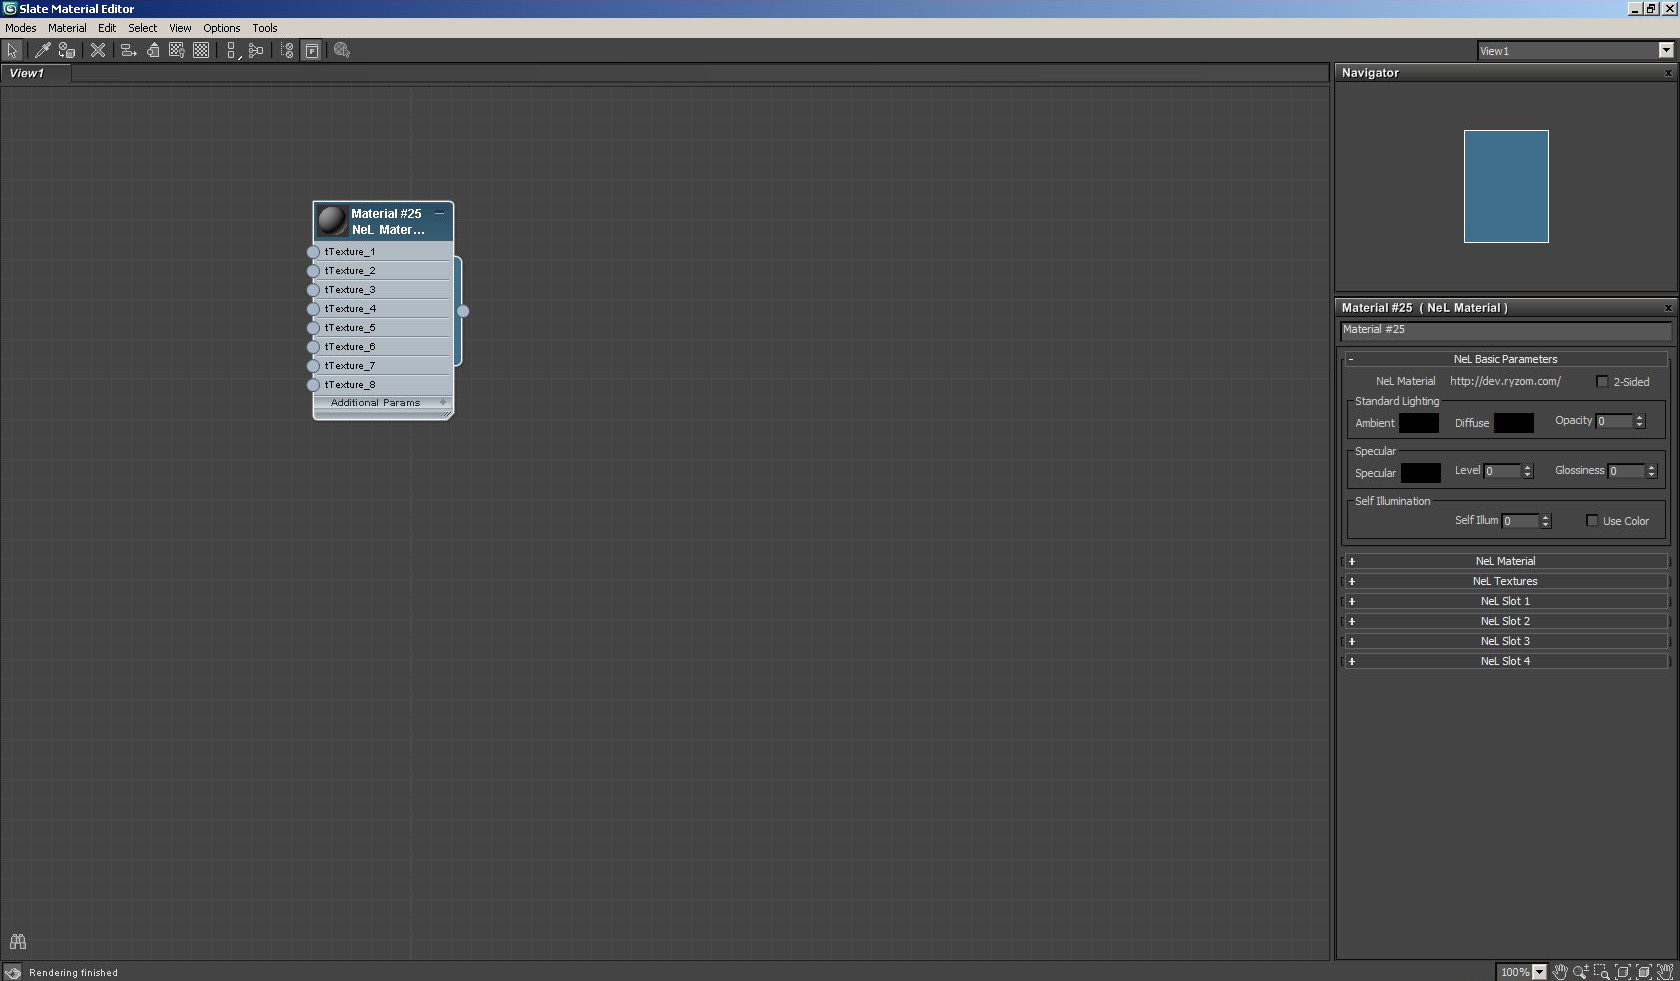
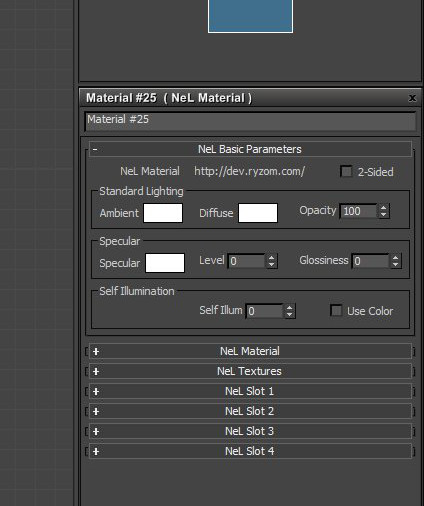
- Enter, for this Material, on the right part, the values for Ambient/ Diffuse and Specular in white and Opacity at 100 (these are the values used to affect the color of the texture according to the environment)
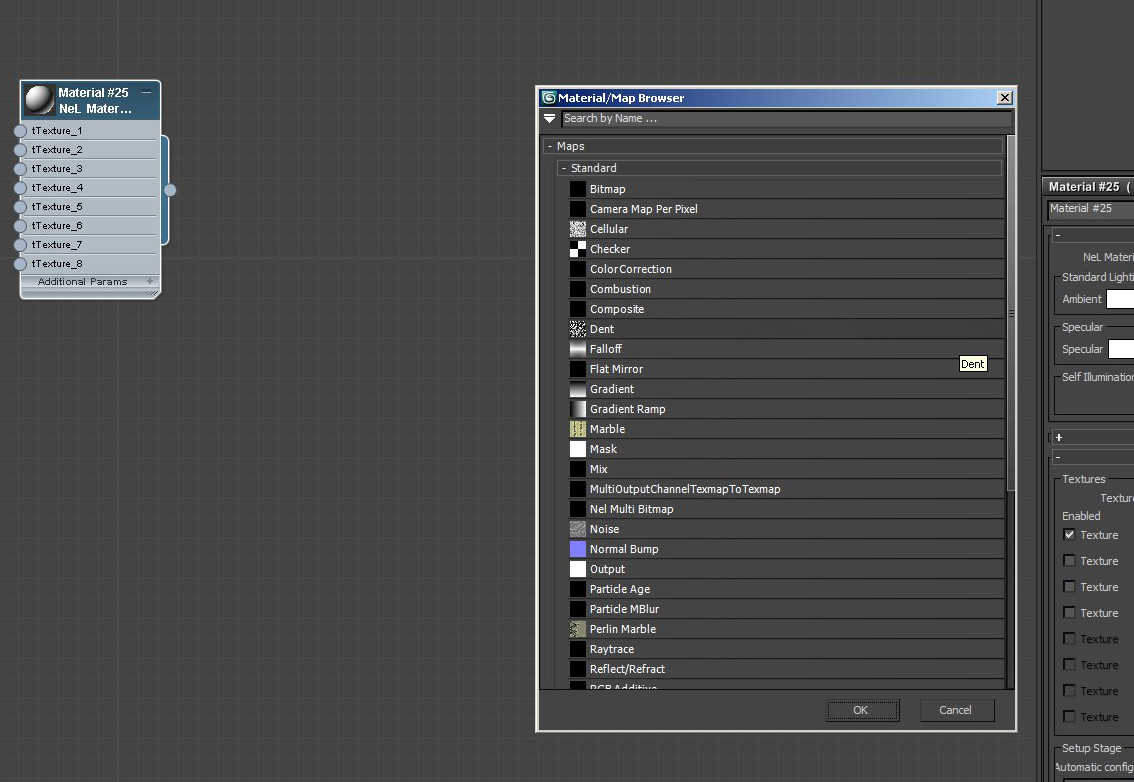
- Select the “NeL Texture” tab and choose “Bitmap”
- Double-click on the Texture Map#1 in View1 to activate the right panel and go to “Bitmap Parameters”, then click on “None” near “Bitmap”

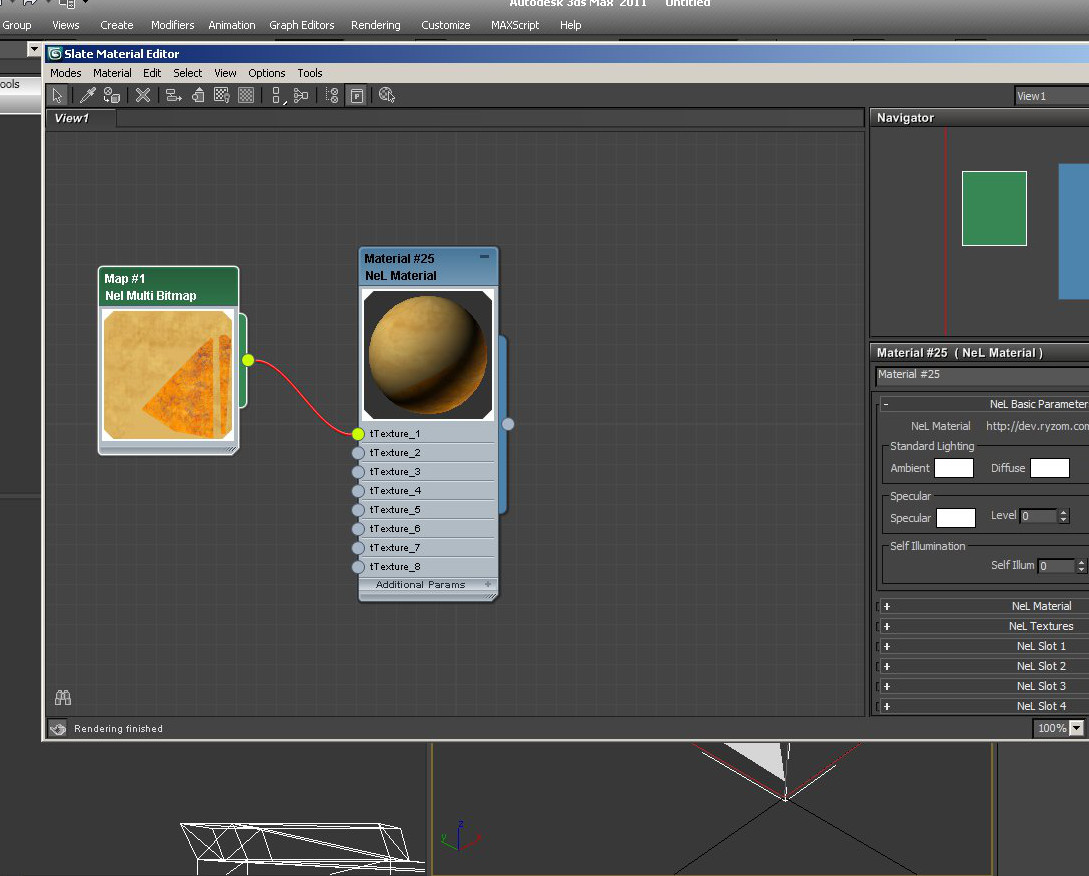
- Select the diffuse texture you’ve created and UVMapped

- Double-click again, first on the texture, then on the material, in “view1” to activate properly the previews (otherwise, the material won’t show correctly). By double-clicking on the small image, you can expend it also, so do it too if you want a better visibility.
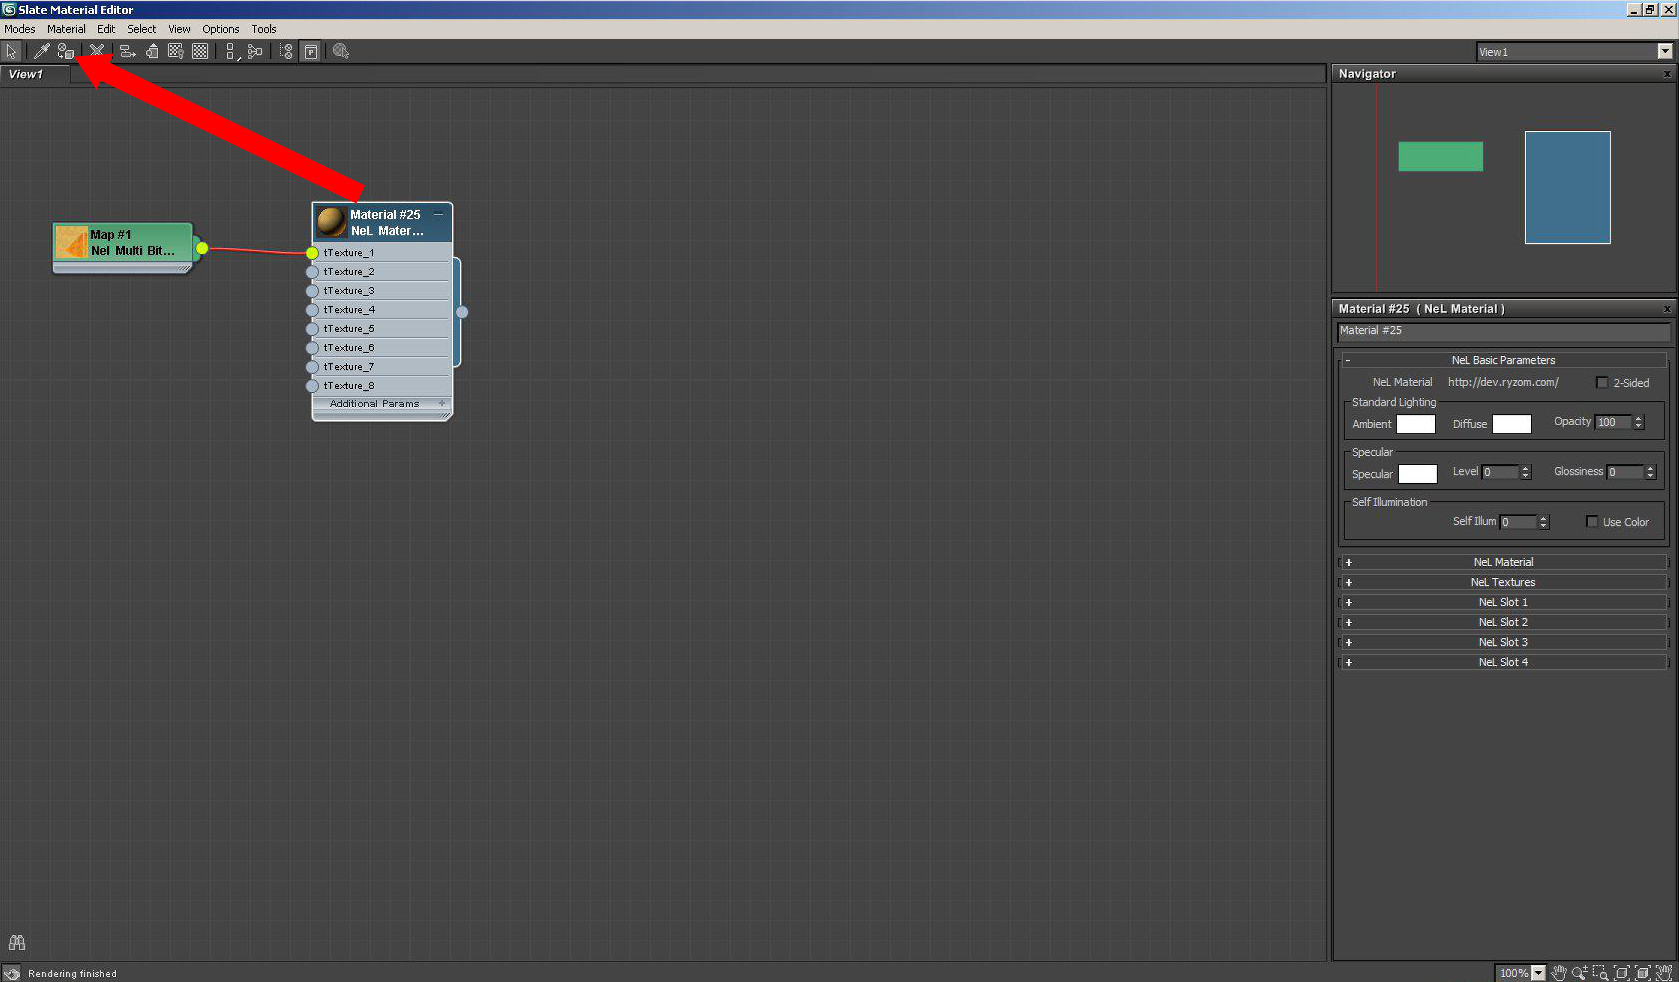
- Apply this material to the object by right-clicking in the window of the Material #25 and by choosing “Apply to selection” or by clicking on the second tab on the top left:
- Close the Material Editor
Exporting the model
- Go to the “Utilities” tab and choose “More…” and then “NeL export”, validate if you haven’t the various Nel export options

- Choose “Export model” and give it a name

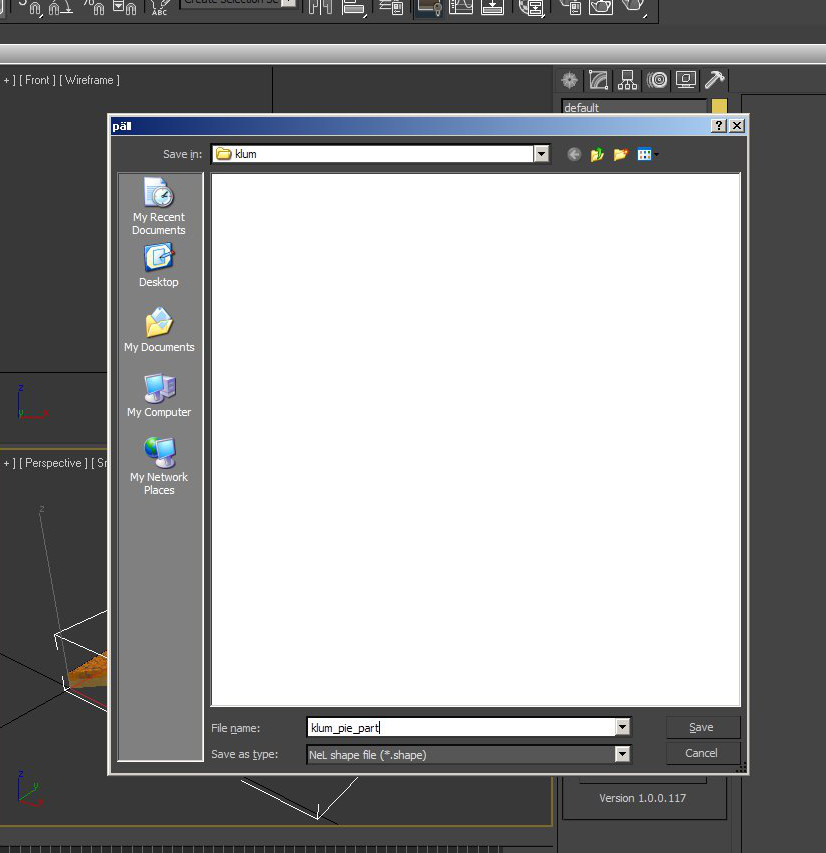
- You get the .shape that can be used by a Datasheet. This one will determine if you can hold it in your right or left hand, with open or closed palm, etc.
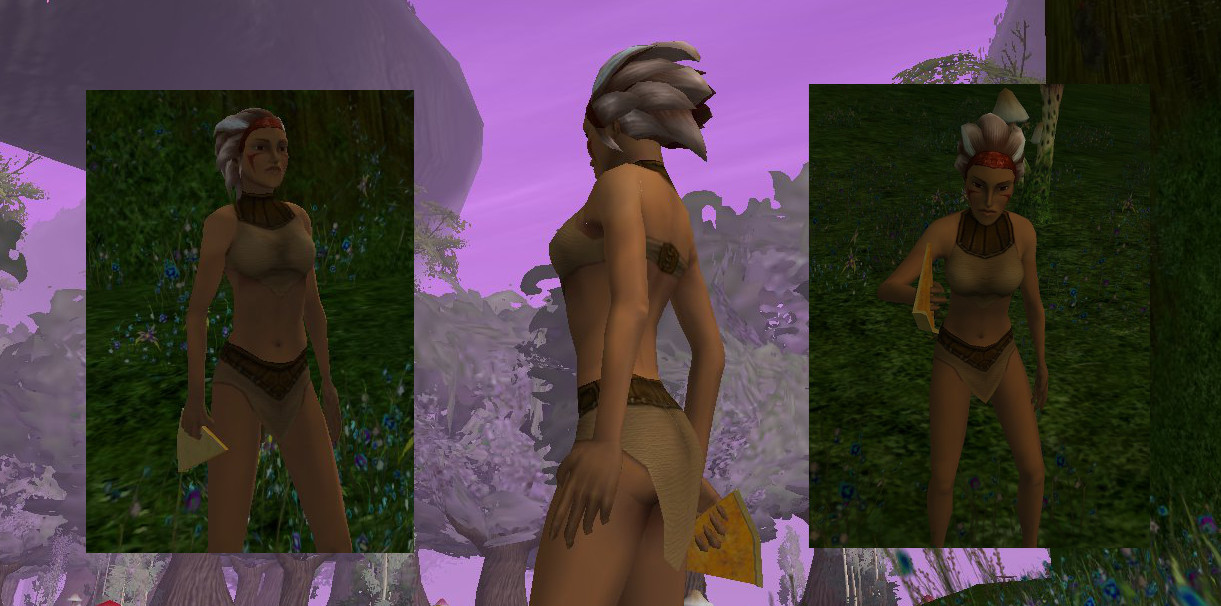
And here we are, with the character being able to enjoy an klum-pie piece!
Caution: The name of the texture is hardcoded in the .shape. So remember not to change it afterwards, or NeL won’t be able to display it anymore.